4 Ways To Record Your iPhone Or iPad Screen, 2023 : Edit Your Recorded Video

If you are an android user and you will going to buy an iPhone, then from starting you may face some problem to use it because Apple does things a little differently than the Android. After using for some time you will be used to its features. Sometimes in iPhone, some features are hidden that means the features are there but you have to explore more to find the features and enable them. For example, taking screenshot in iPhone is quite simple but for screen recording on iPhone is tricky, if you are a new user. But, if you know the right process, then doing screen recording is as simple as making a phone call or taking a screenshot. If you are a new user of iPhone and don’t know how to screen record and save it to your iPhone, then go through this article. In this article you are going to know how you can do screen recording, save it, edit it and share the recorded clip on your iPhone.
Using Control Center Record Screen on iPhone and iPad
In iOS device there is a in built screen recorder is there. You just have to add the screen recorder to the control center on your iOS or iPadOS device.
Add Screen Recorder To The Control Center
- First open your iPhone or iPad settings app and select the Control Center.
- After that open Control Center, scroll down and find the option Screen Recorder.
- In left side of the Screen Recorder option, you can see a green colour plus icon, tap on that and it will shows up under the “Included Controls” section.
Open Control Center On Your iPhone or iPad Device
With Home Button: You can open Control Center on your iPhone or iPad with the home button by
swipe up from the bottom edge of the screen to bring up the control center.
Without Home Button: You can open Control Center on your iPhone or iPad without the home button by swipe down from the upper right corner of the screen to access the control center.
How To Record
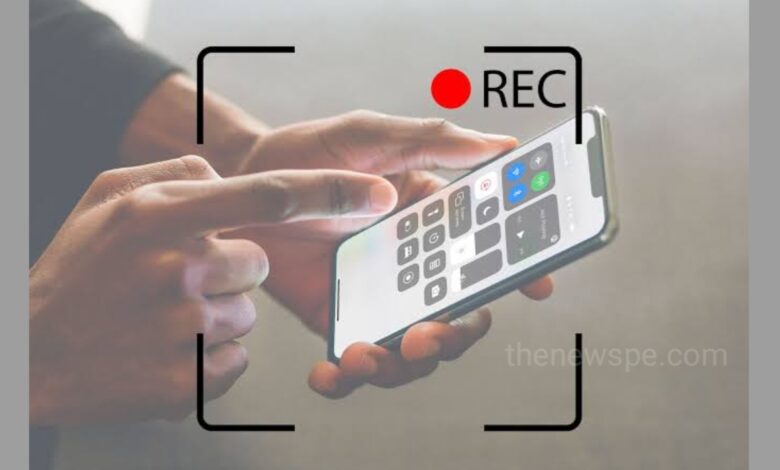
After Screen Recorder add to your screen, you can now touch and hold the Record button and below you can see the microphone icon, tap on that to record audio along with screen recording. If you don’t want to record the audio, then you can turned it off. After that tap on Start Recording and with in 3 sec it will start recording and the recording automatically saves in your Photos app. If you want you can also choose to broadcast the screen recording to other supported apps such as Facebook Messenger, Telegram, and more.
Note: One thing you have to note that, screen recorder will record everything on your screen including notifications. If you don’t want any unexpected notifications to show up on your screen during screen recording, then you can either enable Do Not Disturb or Airplane mode.
How To Stop Recording
If you want to stop the scree recording, then at the top of the screen you can see the red status bar tap on that and a pop-up will appear with Stop recording, you can click on the Stop. You can also stop the recording in Control Center. Open the Control Center and click on red “Record” button to stop screen recording.
Using Mac Record Screen On iPhone And iPad
By using Mac, you can also record screen on iphone and ipad. So, if you have Mac then QuickTime Player for macOS has long been a proficient tool for recording iPhone screen and unlike in-built screen recorder in iPhone, it does not show the “Red” recording button and recorded video that will look professional. Mac also allow you to record the screen in high quality and it is helpful if you want to make presentation from it.
- To record your iPhone screen using Mac, first you have to connect your iPhone or iPad to your Mac and launch QuickTime Player.
- At the left top corner of your Mac screen, you will see the File menu, click on that. Open the menu and select the option New Movie Recording.Next to the record button you will see the download arrow, click on that and 3 options will shows Camera, microphone and quality.
- Under the Camera section choose your iPhone/iPad. Under the microphone option, you can select the Built-in Microphone. You can also select the quality of recording. If you want the high quality , then under quality section choose the High.
- Your iPhone or iPad screen will now mirrored on your Mac. Next click on record button to start recording and save your recorded video where you want. Again if hit the red record button to stop recording.
Using Windows PC Record Screen On iPhone And iPad
- If you are having a Windows PC and want record your iPhone screen on PC, then it is a bit tedious affair because QuickTime Player tool is doesn’t support Windows. So for this you need a third-party tools to record the iOS device screen on a Windows PC.
- You can check some reliable tools like “LonelyScreen” and “AirServer” to record your iPhone screen on PC. LonelyScreen is a free tool while AirServer give you the more control and to record the screen in rich quality.
Use Third-Party Screen Recorder For iPhone And iPad
For Apple user, there are lots of screen recorders for iPhone and iPad you can found on
App Store.
Record it App
It is the one of the best third party app you can use to record your iPhone screen. Using this app, you can adjust playback speed, trim and rotate your video, change the background color and also get the pro-grade filters to use in your video. After editing you can also share your video on social media platforms like YouTube, facebook etc.
Humbly Request To All Visitors!
If you found above both downloading link expired or broken then please must inform admin.


