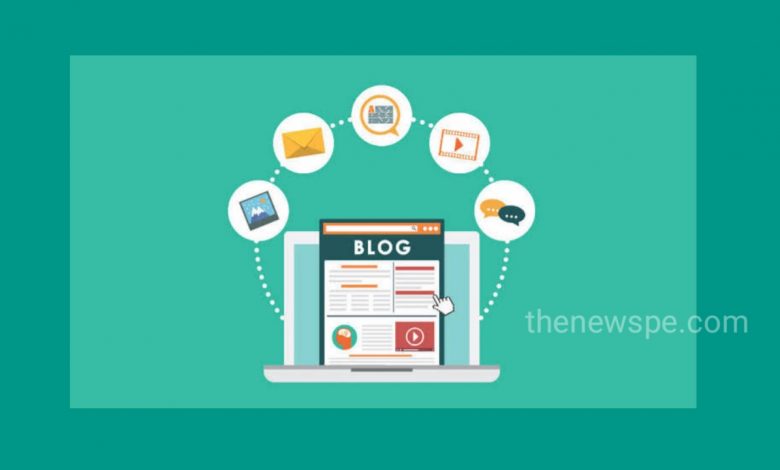
How To Create Your Blog

If you want to create your own blog then go through this article and know how you can going to have your own blog address, how to create the ‘blog posts’, how you are create the ‘menu’ and how you are going to create ‘about me’ and ‘follow me’ section and also the contact page, so that your reader can contact you. The main thing is, this blog is also going to be mobile friendly and it looks perfect on any mobile.
First thing you should know about blogs. So blog is basically a type of web that mainly focused on written content. It is also known as blog posts.
To make your blog, first you have to choose a name for your blog then click on ‘check availability’. If the name available then comes to the next that is get domain and hosting. To get free domain and hosting, go to the godaddy.com . Godaddy give domain for free and also give discount for hosting. Click on ‘get started’. Now you can see the page select plan. In this you an see different plans like basic, deluxe, ultimate and developer. You can select basic plans that is perfect for any type of blogging you want. Then scroll down and select term length. You will see 4 options. 1 month, 12 months, 24 months, 30 months. After that scroll down and click on ‘continue‘. After that a page will appear with box. You can enter your blog address, then click on ‘search’. After that click on ‘select and continue‘. Remove the office option, then click on ‘proceed to check up’. After that a new page appear, here you can click on ‘create an account ‘ and fill your details. You can also continue with Facebook. After filling your mail ID and password create a support PIN by enter any 4 digit as pin. After that click on ‘create account’.
Then comes to your billing information. Here you can fill your name, email address, country, address, PIN, phone number and choose your payment method. Then click on ‘continue’. After that click on ‘place your order’. Then complete your payment by clicking on ‘make payment’ and complete your payment by log in to your bank account. After that you can get your domain and hosting. Then by set it up click on ‘managed wordpress’. After that you can see the option ‘pick a domain’ click on ‘next’. Next you can see ‘choose a data Centre’, here you can click on ‘next’. After that you can see the option ‘create a wordpress login‘. Here you can enter a wordpress username and password for wordpress. This will be used for login in to your blog. After that click on ‘install’. You can see the page installing wordpress. After that wordpress successfully installed, then click on ‘get started‘. Next you can see the option start wizard, here you can click on ‘no thanks’. Then click on ‘ok‘. After that you can see the wordpress dashboard. This is the place where you will be able to control your blog. If you reach this page, your blog will also be online. To check this first you logout from your dashboard. To logout click on right top corner and 3 option shows, here you can click on ‘logout’.
Now open a new tab and enter your blog adress and then press enter. You can see your blog is online. You can see the default wordpress version look. To change this you have to install a new theme. For this you have to log in to your blog. For this you have to enter your address/login and press ‘enter’. You can see login page. Enter your user name and password then press login. Now you are back to your dashboard. In left side bar you can see different options are their. Click on ‘appearance‘ and then click on ‘theme’. Here you can see different theme. Next you can click on ‘add new theme’, then click on ‘upload theme’ and click on ‘browse’ to select any downloaded theme and click on ‘install now’. Also after click on ‘add new theme‘, you can see different theme option. You can directly choose from their and installed it. After click on install now, you can click on ‘activate’. After that click on ‘visit site’ to view your blog. Now you can see your blog has new look.
After that you have to add content to your blog. First thing you are going to add blog posts. So blog post is nothing but the article that you post to your blog. To add your first post, click on ‘new’ present on top, then click on ‘post’. Enter the title for your post. Then copy your content and paste the content below and add a ‘featured image’. Featured image is appear in your post just below your title. To set image, in right side bar comes to the option ‘set featured image’. Click on set featured image and then drag and drop the image you want, and click on set featured image. After that click on ‘published’ and see how its look by clicking on ‘view post’.
Next you can see how to change the title of your blog. Go to ‘customize’ option above. Click on that. Then in left side bar you can see the option ‘site identity’. Now here you can enter your blog name. You can also add tag line below. Then click on ‘save and publish’ above. Now you can see title of your blog has been changed.
After title next you can see how to create your ‘menu’. Click on ‘customize’ then ‘site identity’, then click on ‘menu’. After that click on ‘add a menu’, then give name to your menu by entering in to the box, click on ‘create menu’. After that you need to choose where you want your menu to appear in blog. In left side bar you can see the options, choose on that. After that add item to your menu. Click on ‘add item’, comes to ‘pages’, then click on ‘home’. Next you can add a new page ‘about’ and click on ‘add’. Then you can add a page ‘contact’ and click on ‘add’. In this manner you can add new page that add to your menu. Then click on ‘save and publish’.
Next you can add to your menu is the ‘category’ page. So what is category page? Category will help your user to browse easily in to your blog and get the information they need. To create category just click the post that you created before, then click on ‘edit post’. In right side bar you can see the option ‘categories’, click on ‘add new category’. After you have added category, you can just unchecked the box uncategorised. After that you can click on ‘update’ above. You can add more post in separate categories. For this you can click on ‘add new’ present on above and enter a title for new post and paste the content and create new categories and click on ‘new category’. After added to that category, next add a featured image by click on ‘set featured image’. After that click on ‘publish’. Now go to ‘appearance’ option present on left side bar and then click on ‘menu’. After that click on categories. Here you can see your categories that you just created. You can select them and click ‘add to menu’. After that you can rearrange your menu structure, then click on ‘save menu’. Now view your blog. Now if you click on categories in menu you can see the post under that category.
Next you can see how to create the ‘about’ page. About section is important because it tells the reader about you. You are already create this page. So, you just have to add the content. Click on ‘about’ menu , then click on ‘edit page’. Now add the content by paste on it. Now to add image, click on ‘add media’ . Choose the picture drag and drop the file. After that select the size, then in right side bottom click on ‘insert’ in to page. After that click on ‘update’. Then click on ‘view page’ to see the about page.
Next you are going to add content to ‘contact ‘ page. You are already create this page before so you just have to add the content. Go to the ‘contact’ page, then to the dashboard. Go to ‘plugins’ ,then click on ‘add new’. You can search plugin or you can select plugin their, then click on ‘install now’, then click on ‘activate’, a new menu item will be added here as a contact. You can click on contact and you can see default contact form their and next to contact you can see the short code. You can just select the short code and copy the code. Then go to pages ,then click on ‘edit’ under contact and paste the code in contact page. Now click on ‘update’ then click on ‘view page’. Now you can see your contact form. So, whenever a user fills the form and click ‘send’ you will receive a mail. This Emil will be sent to your email address used in godaddy.
Next you are going to add to your blog is social sharing buttons. These buttons make easy for your readers to share your articles. To add that go to your dashboard. Go to the ‘plugins’, then click on ‘add new’, select plugin there or you can search. Then click on ‘install now’, then click on ‘activate’, the button will now added. To check that go to your blog and click any of your blog post. When you scroll down you can see that the social sharing buttons are added. You can click on any social button and share the post.
Next you can add social media links. These links will help your reader to find you on social media sites. To add that click on ‘customize’ and go to ‘menus’. Now lets create a new menu for your social media links. Click on ‘add menu’, enter the name ‘social’ then click on ‘create menu’. Then choose the location for your social menu. Then click on ‘add menu’ and go to ‘custom links’ and enter the social media link which you wanted to add. If you want to add Facebook, enter your Facebook page URL and then just type Facebook and click on ‘add to menu’. Now you can do the same procedure for Twitter and Google+ link. After that click on ‘save and publish’ and go back. Now you can see you have added the social media link. So, if you click on social media links, it will take you to your social sites.
Now you will see how to add ‘about the author ‘ section. This will help your reader to know about the author of the article. To add that go to your dashboard. Under users click on ‘your profile’. Scroll down and enter the name then the biographical info. You can also add your profile picture by going to the link in profile picture. Once you have done, just click on ‘update profile’. If you go back to your blog and below the post you can see about the author section.
Humbly Request To All Visitors!
If you found above both downloading link expired or broken then please must inform admin.


